
- “Marcia's Baked Goods” already exists in your wishlist
Editable Black Formal Invoice Template
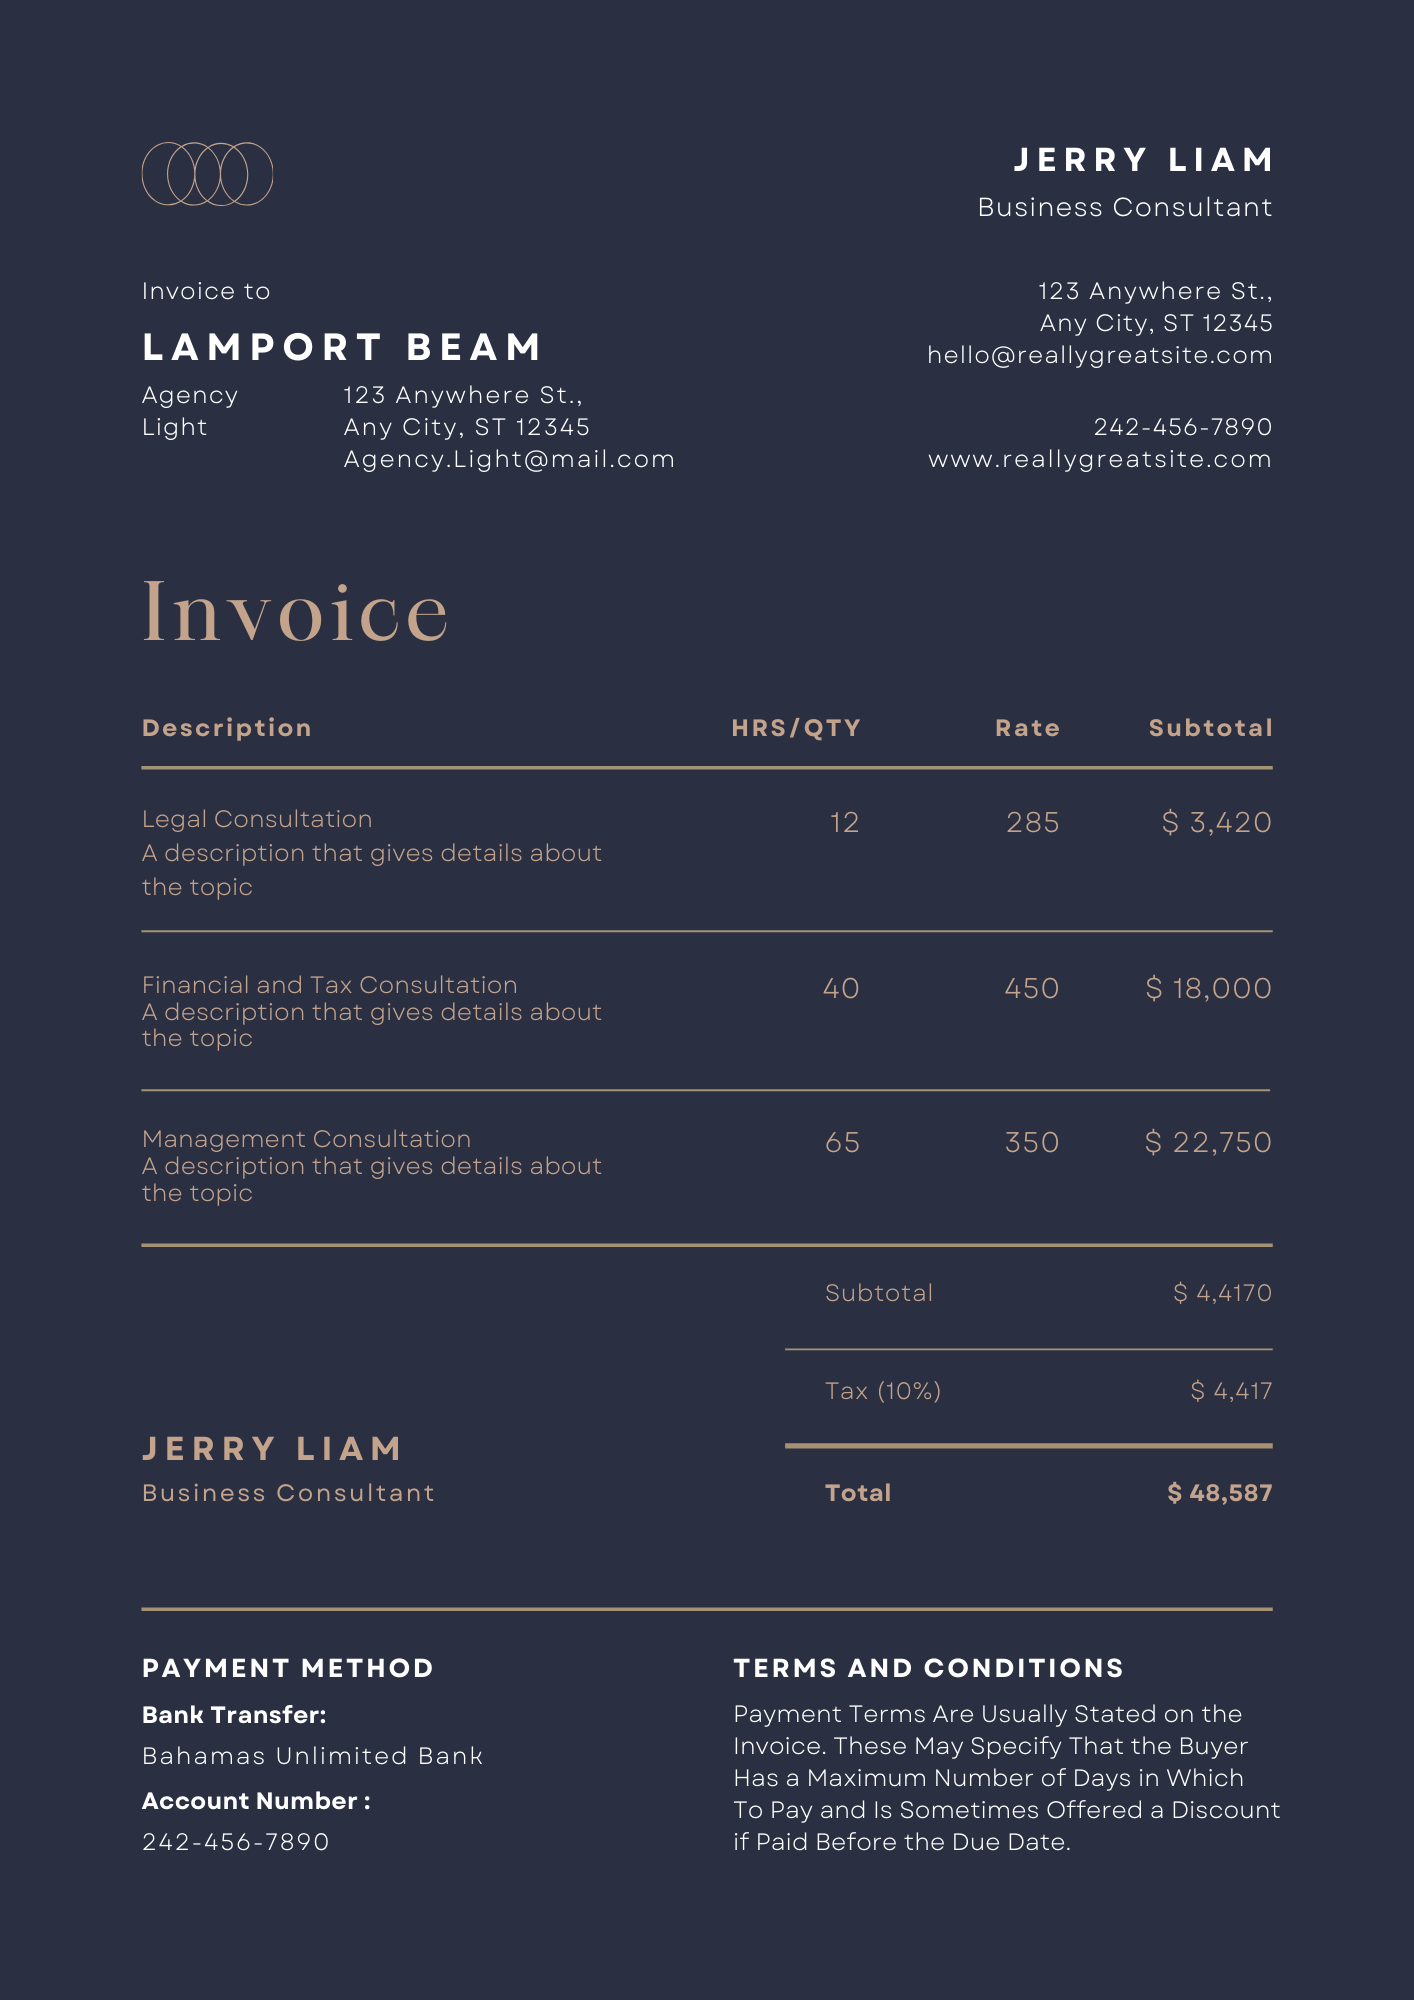
Editable Invoice Template – Professional & Easy to Customize
Take control of your invoicing with our Editable Invoice Templates, designed for businesses, freelancers, and service providers who need professional, branded invoices. These templates are fully customizable in Canva and Microsoft Word, allowing you to personalize them in just a few clicks.
Why Choose Our Invoice Templates?
Fully Editable: Modify text, colors, fonts, and layout to match your brand.
Easy to Use: No design skills needed! Simple, user-friendly formatting.
Multiple Formats: Available in Canva & Microsoft Word (DOCX).
Instant Download: Access your template immediately after purchase.
Reusable: Use the template over and over for unlimited invoices.
How to Edit in Canva:
Click the Canva Link: After purchase, you’ll receive a link to access the template in Canva.
Customize Your Invoice: Modify text, colors, fonts, and upload your logo.
Download & Save: Once edited, download your invoice in PDF, PNG, or JPG format.
Send or Print: Send via email or print for physical copies.
Note: A free Canva account is required to edit.
How to Edit in Microsoft Word:
1. Download the Word Template: Open the .DOCX file in Microsoft Word.
2. Customize the Invoice: Click on the text fields to edit company name, invoice details, and payment info.
3. Insert Your Logo: Click on the logo placeholder, then insert and resize your brand logo.
4. Adjust Colors & Fonts: Use the formatting toolbar to customize the look.
5. Save & Share: Save as a PDF for digital invoicing or print as needed.
Perfect for: Freelancers, Small Business Owners, Service Providers, Agencies, and more!
Upgrade your invoicing system today with our Editable Invoice Templates—a simple, professional, and stress-free way to bill your clients.
To download and start using our Template, follow these simple steps:
- Visit the Product Page: Navigate to the product page where the template is listed.
- Select the Template: Choose the template that best suits your needs from the available options.
- Add to Cart: Click the “Add to Cart” button to include the template in your purchase.
- Proceed to Checkout: Once you’re ready, go to your cart and click “Checkout” to complete your purchase.
- Enter Your Details: Fill in the required billing and payment information, then click “Submit Order” to finalize the purchase.
- Download the Template: After your payment is processed, you will receive a download link on the order confirmation page and in your email. Click the link to download the template file.
- Save the File: Save the downloaded template file to your computer or cloud storage for easy access.
- Open and Edit: Open the template in Canva, Microsoft Word or Google Docs and start customizing it with your personal information.
- Save and Print: Once you’ve made your edits, save the updated cover and print.
Instruction Manual for Customizing Templates on Canva
Step 1: Accessing Canva
- Sign Up or Log In:
- Go to Canva’s website.
- Sign up for a free account if you don’t have one, or log in with your existing account.
Step 2: Uploading Your Template
- Download Your Template:
- Download the template files from your purchase confirmation email or the website where you bought them.
- Make sure you have the template files saved on your computer.
- Upload to Canva:
- On Canva’s homepage, click on “Create a design” and select “Custom dimensions.”
- Enter the dimensions of your template (e.g., 500 x 500 pixels for Logos).
- Click on “Uploads” in the left-hand menu.
- Click the “Upload media” button and select the template files from your computer.
Step 3: Customizing Your Template
- Open Your Template:
- Once uploaded, your template will appear in the “Uploads” section.
- Drag and drop the template onto the blank canvas.
- Edit Text:
- Click on any text box to select it.
- Highlight the text you want to change and type in your new text.
- Use the toolbar at the top to adjust font, size, color, alignment, and spacing.
- Change Colors:
- Click on any element whose color you want to change (e.g., backgrounds, shapes).
- Use the color palette in the toolbar at the top to choose a new color.
- You can also enter a specific hex color code if you have one.
- Replace Images:
- Click on any image to select it.
- Click “Uploads” in the left-hand menu and upload your own images.
- Drag your uploaded image over the existing image and it will automatically replace it.
- Use the crop and position tools to adjust the new image as needed.
- Add New Elements:
- Click on “Elements” in the left-hand menu to add new shapes, lines, icons, or illustrations.
- Drag and drop any element onto your design and customize it as needed.
Step 4: Finalizing Your Design
- Review Your Design:
- Go over your design to make sure all elements are correctly customized.
- Check for spelling errors, alignment issues, and overall aesthetics.
- Save Your Design:
- Click on the “Download” button in the top-right corner.
- Choose your preferred file type (e.g., PNG, JPG).
- Click “Download” to save the customized template to your computer.
- Use Your Design:
- Your customized design is now ready to be used.
Tips for Best Results
- Consistency: Use consistent fonts, colors, and styles across all your posts to maintain a cohesive look.
- High-Quality Images: Use high-resolution images to ensure your posts look professional and clear.
- Brand Identity: Incorporate your brand’s logo, colors, and fonts to strengthen brand recognition.
- Less is More: Keep your designs clean and uncluttered to make them visually appealing and easy to read.
Troubleshooting
- Text Issues: If text doesn’t fit, reduce the font size or adjust the text box size.
- Image Problems: If an image doesn’t replace correctly, try re-uploading or adjusting the crop settings.
- Design Errors: For any design issues, use Canva’s help section or contact our customer support team.
Customer Support
If you encounter any issues or have any questions, please reach out to our support team at support@buyingbahamian.com for assistance. We’re here to help you get the most out of your templates.
Vendor Information
- Store Name: Printspire Shop
- Vendor: Printspire Shop
- Address:
- No ratings found yet!


Reviews
There are no reviews yet.